jekyllでサイト(ブログ)を作成し、github pagesで管理する方法
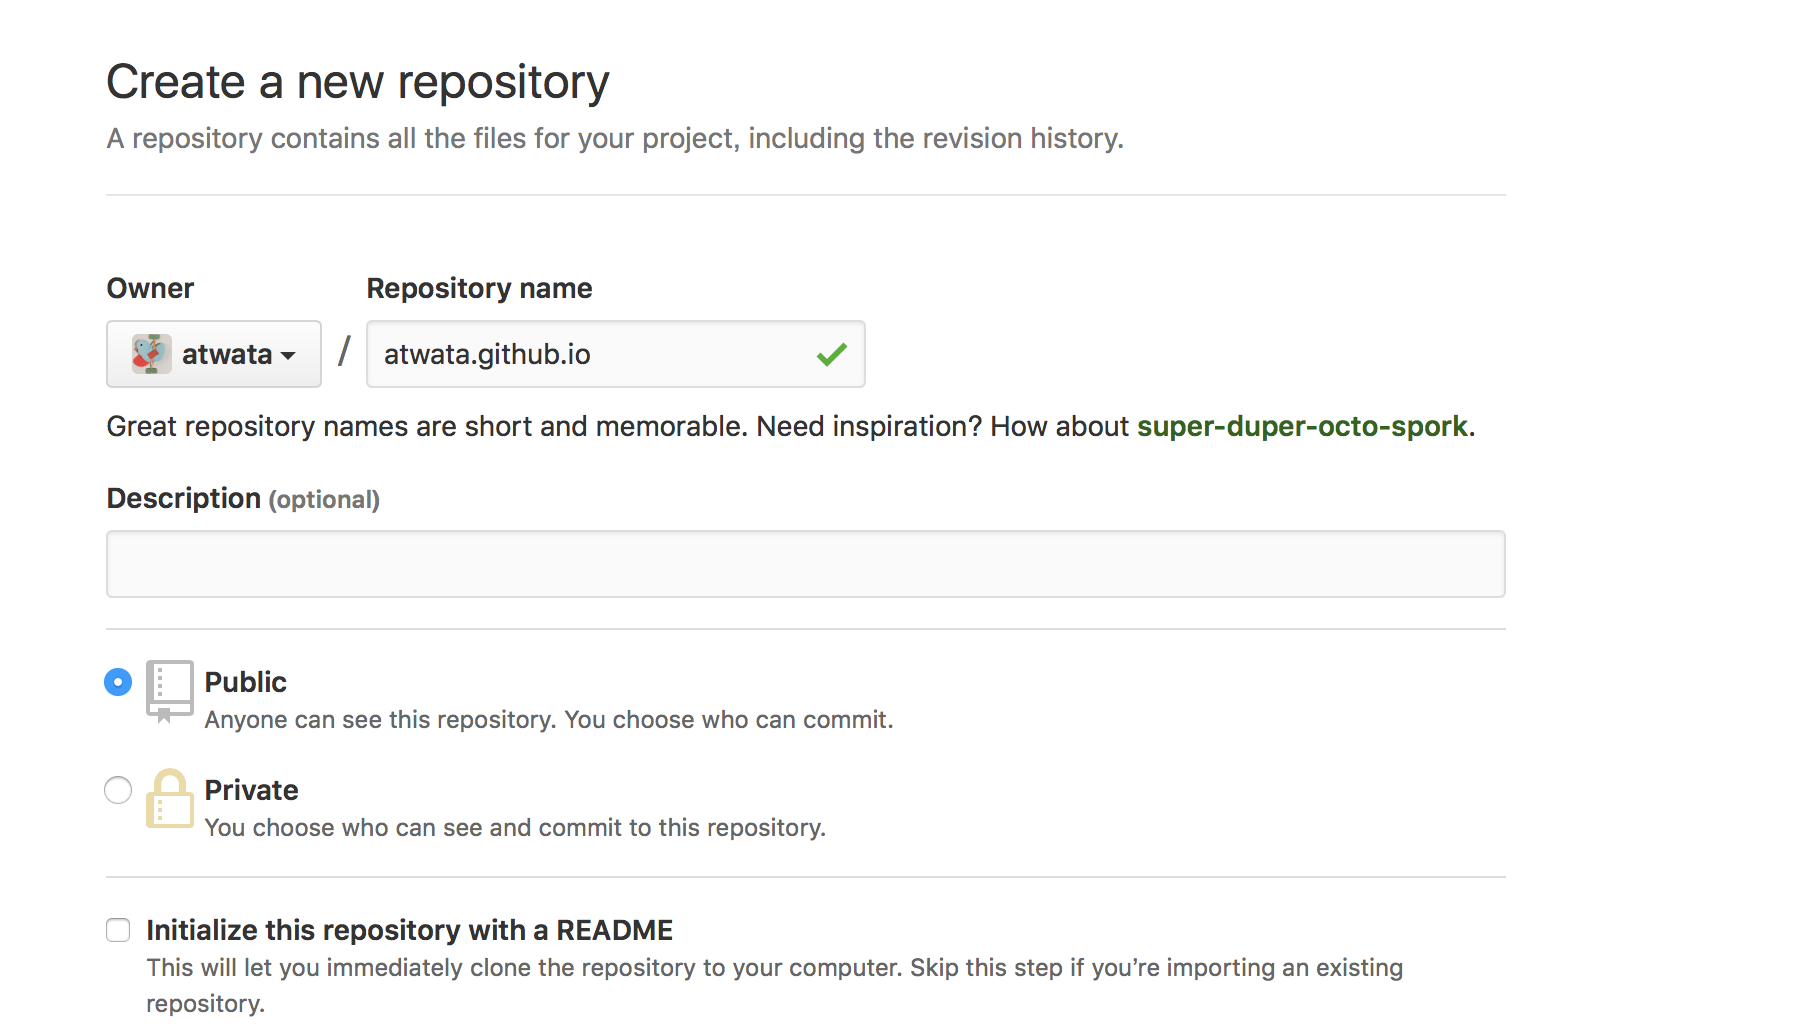
07 Feb 2017githubにgithub.ioのリポジトリを作成する。
インストールされていなければbundlerをインストール。
$ gem install bundler
Jekyllをインストール
$ gem install jekyll
今回はローカルの /Users/aw/root/ に blogという名前でインストールします。
$ cd /Users/aw/root/
$ jekyll new blog
Running bundle install in /Users/aw/root/blog...
  Bundler: The dependency tzinfo-data (>= 0) will be unused by any of the platforms Bundler is installing for. Bundler is installing for ruby but the dependency is only for x86-mingw32, x86-mswin32, x64-mingw32, java. To add those platforms to the bundle, run `bundle lock --add-platform mingw, mswin, x64_mingw, jruby`.
  〜略〜
  Bundler: Use `bundle show [gemname]` to see where a bundled gem is installed.
New jekyll site installed in /Users/aw/root/blog.
$ cd blog/
$ ll
total 48
drwxr-xr-x  9 aw  staff   306  2  7 23:03 .
drwxr-xr-x  6 aw  staff   204  2  7 23:03 ..
-rw-r--r--  1 aw  staff    35  2  7 23:03 .gitignore
-rw-r--r--  1 aw  staff   953  2  7 23:03 Gemfile
-rw-r--r--  1 aw  staff  1180  2  7 23:03 Gemfile.lock
-rw-r--r--  1 aw  staff  1402  2  7 23:03 _config.yml
drwxr-xr-x  3 aw  staff   102  2  7 23:03 _posts
-rw-r--r--  1 aw  staff   525  2  7 23:03 about.md
-rw-r--r--  1 aw  staff   213  2  7 23:03 index.md
ローカルでサーバを起動してみて表示されるか確認する。
$ jekyll serve
Configuration file: /Users/aw/root/blog/_config.yml
Configuration file: /Users/aw/root/blog/_config.yml
            Source: /Users/aw/root/blog
       Destination: /Users/aw/root/blog/_site
 Incremental build: disabled. Enable with --incremental
      Generating...
                    done in 0.462 seconds.
 Auto-regeneration: enabled for '/Users/aw/root/blog'
Configuration file: /Users/aw/root/blog/_config.yml
    Server address: http://127.0.0.1:4000/
  Server running... press ctrl-c to stop.
- 参考
| オプション | 内容 |
--watch |
変更を監視し、自動的に再作成を行う |
--host=0.0.0.0 |
外部からのアクセスを受けつける(指定しないとlocalhostでのアクセスのみ。) |
github pagesにpushする。
awmbp:blog aw$
awmbp:blog aw$ git init
awmbp:blog aw$ git add .
awmbp:blog aw$ git commit -a
awmbp:blog aw$ git remote add origin git@github.com:atwata/atwata.github.io.git
awmbp:blog aw$ git push origin master
下記URLにアクセスすると初期ページが表示される。